Custom Sublimation Blanks
Clear Sublimation Treated Acrylic Stanley Toppers for Sublimation - 3 Sizes
Clear Sublimation Treated Acrylic Stanley Toppers for Sublimation - 3 Sizes
Regular price
$1.00 USD
Regular price
Sale price
$1.00 USD
Unit price
per
Couldn't load pickup availability
Choose between toppers for 30 oz. or 40/64 oz models.
These toppers are clear acrylic and treated on the back side for sublimation...not solid white. They have a stunning, high gloss finish and hold up very well to wear and tear. They are thick, at 4.5 mm. (
***These toppers have been sized to fit the Stanley Quencher H2.0 Tumblers and have not been tested on any other model or dupe.
Supplies needed:
- sublimatable substrate
- sublimation transfer
- teflon or scratch paper
- heat tape
- soft paper towel
Heat press settings:
- temperature - 375 degrees F
- dwell time - 1:00 min.
- pressure - heavy
Note: The recommended settings above may need adjustments for best results. Settings will vary depending on the heat press brand and model ink and paper and atmospheric conditions.
The layers of soft paper towel achieve two goals: 1. it helps to
distribute the pressure evenly throughout the substrate; 2. it helps to trap
ink that is dispersed outside of the edges of the substrate if there is an
overprint area or full bleed in the artwork.
Sublimate on the white side but before sublimating remove the
plastic coating from both sides. If you don't it will look very dull.The sublimation will be very dull if you sublimated on the clear side.
Print the transfer right-reading NOT mirrored as the image will be
viewed from the back of the product.
Layer the press from the bottom pad to the top heat platen as follows:
1. teflon sheet or scratch paper
2. 2-3 layers of soft paper towel
3. substrate
4. transfer
5. teflon sheet or scratch paper
Steps:
1. Remove the plastic coating from the white side first then align the
substrate onto the transfer.
2. Tape two ends of the substrate to transfer using the heat tape.
3. Place the transfer and substrate in the press onto the paper towel
(transfer on top of substrate).
4. Place the teflon sheet or scratch paper over the transfer and acrylic.
5. Press the items using the settings listed above.
6. Remove items from the press immediately. Use heat-resistant gloves if
necessary - the items will be very hot.
7. Tear the transfer in half opposite of the taped ends.
8. Place the sublimation side down with a heavy object on top to prevent
warping while it cools.
Tips:
- If the image of the final product appears light increase the pressure or
the dwell time slightly (5-15 seconds).
- If the image on the final product appears blurred or substrate appears
yellowed reduce the dwell time slightly (5-15 seconds).
Materials
Materials
Shipping & Returns
Shipping & Returns
Dimensions
Dimensions
Care Instructions
Care Instructions
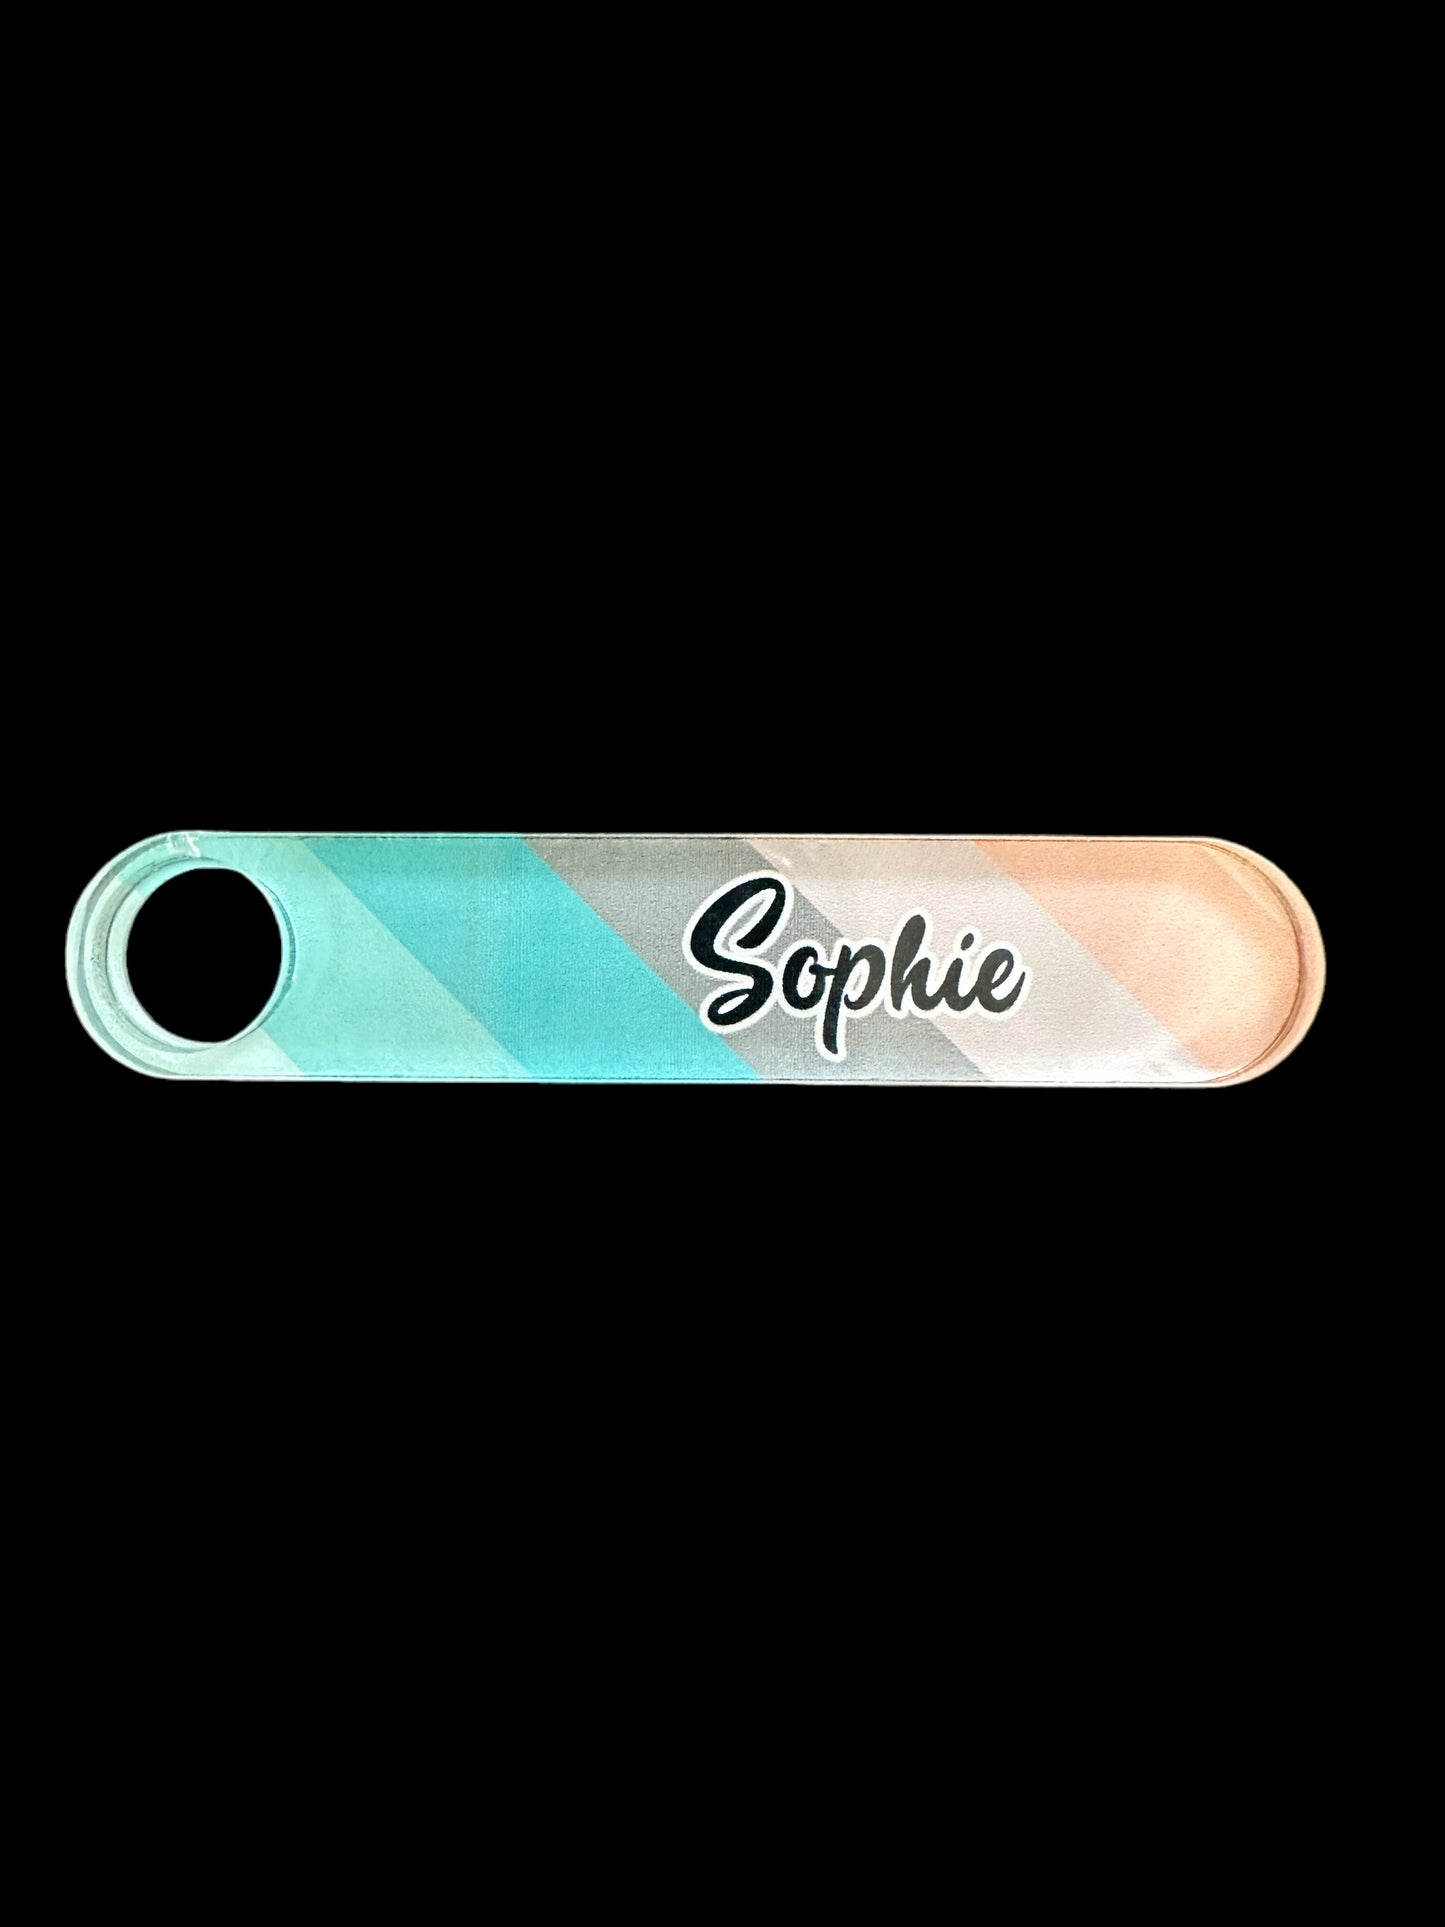

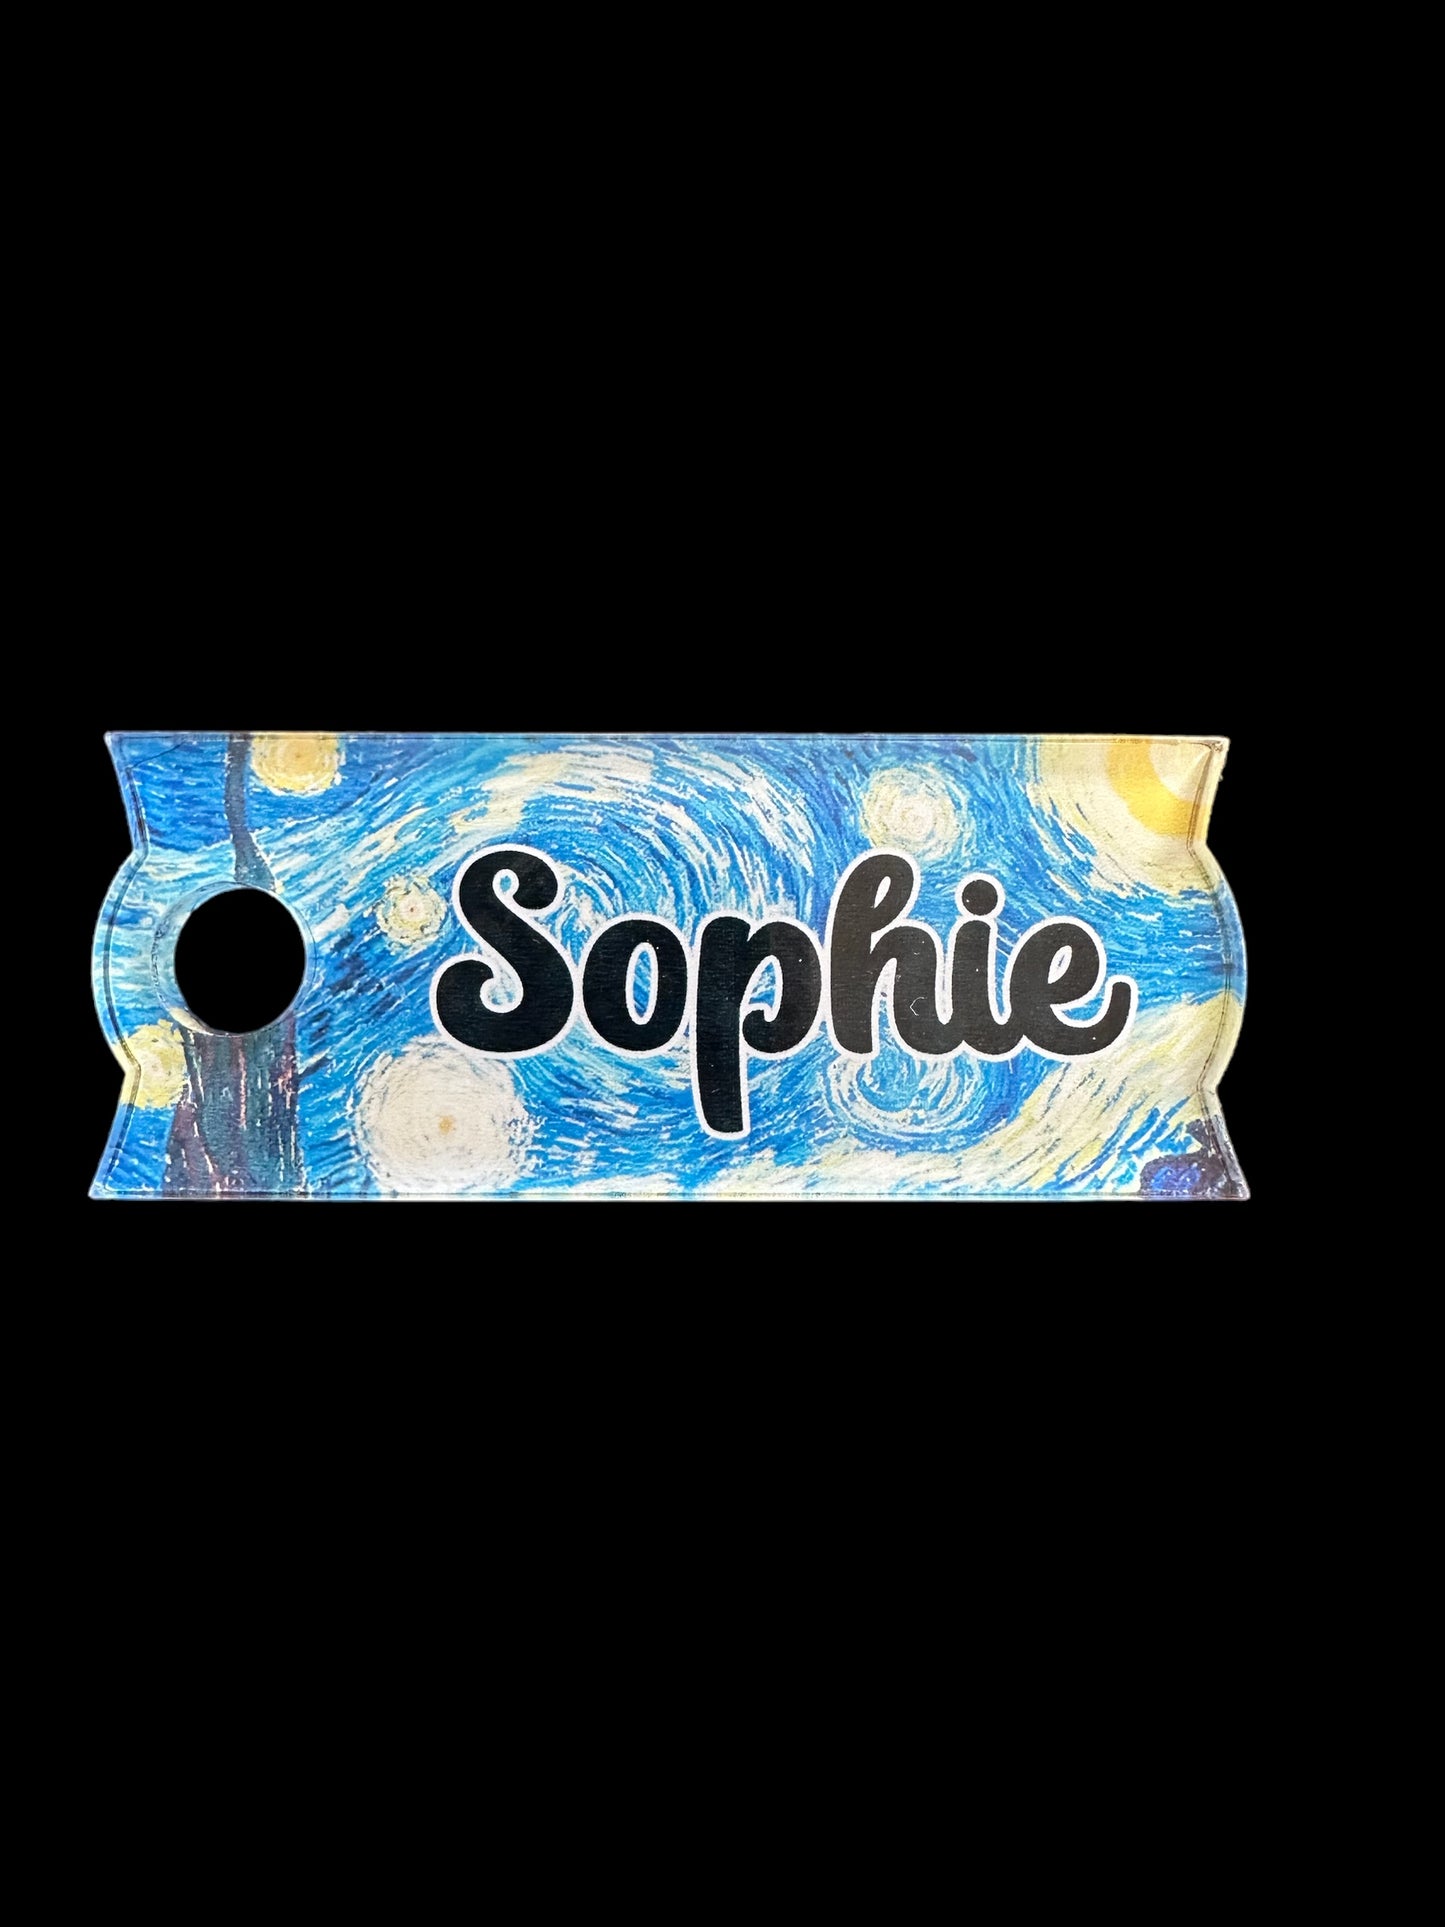
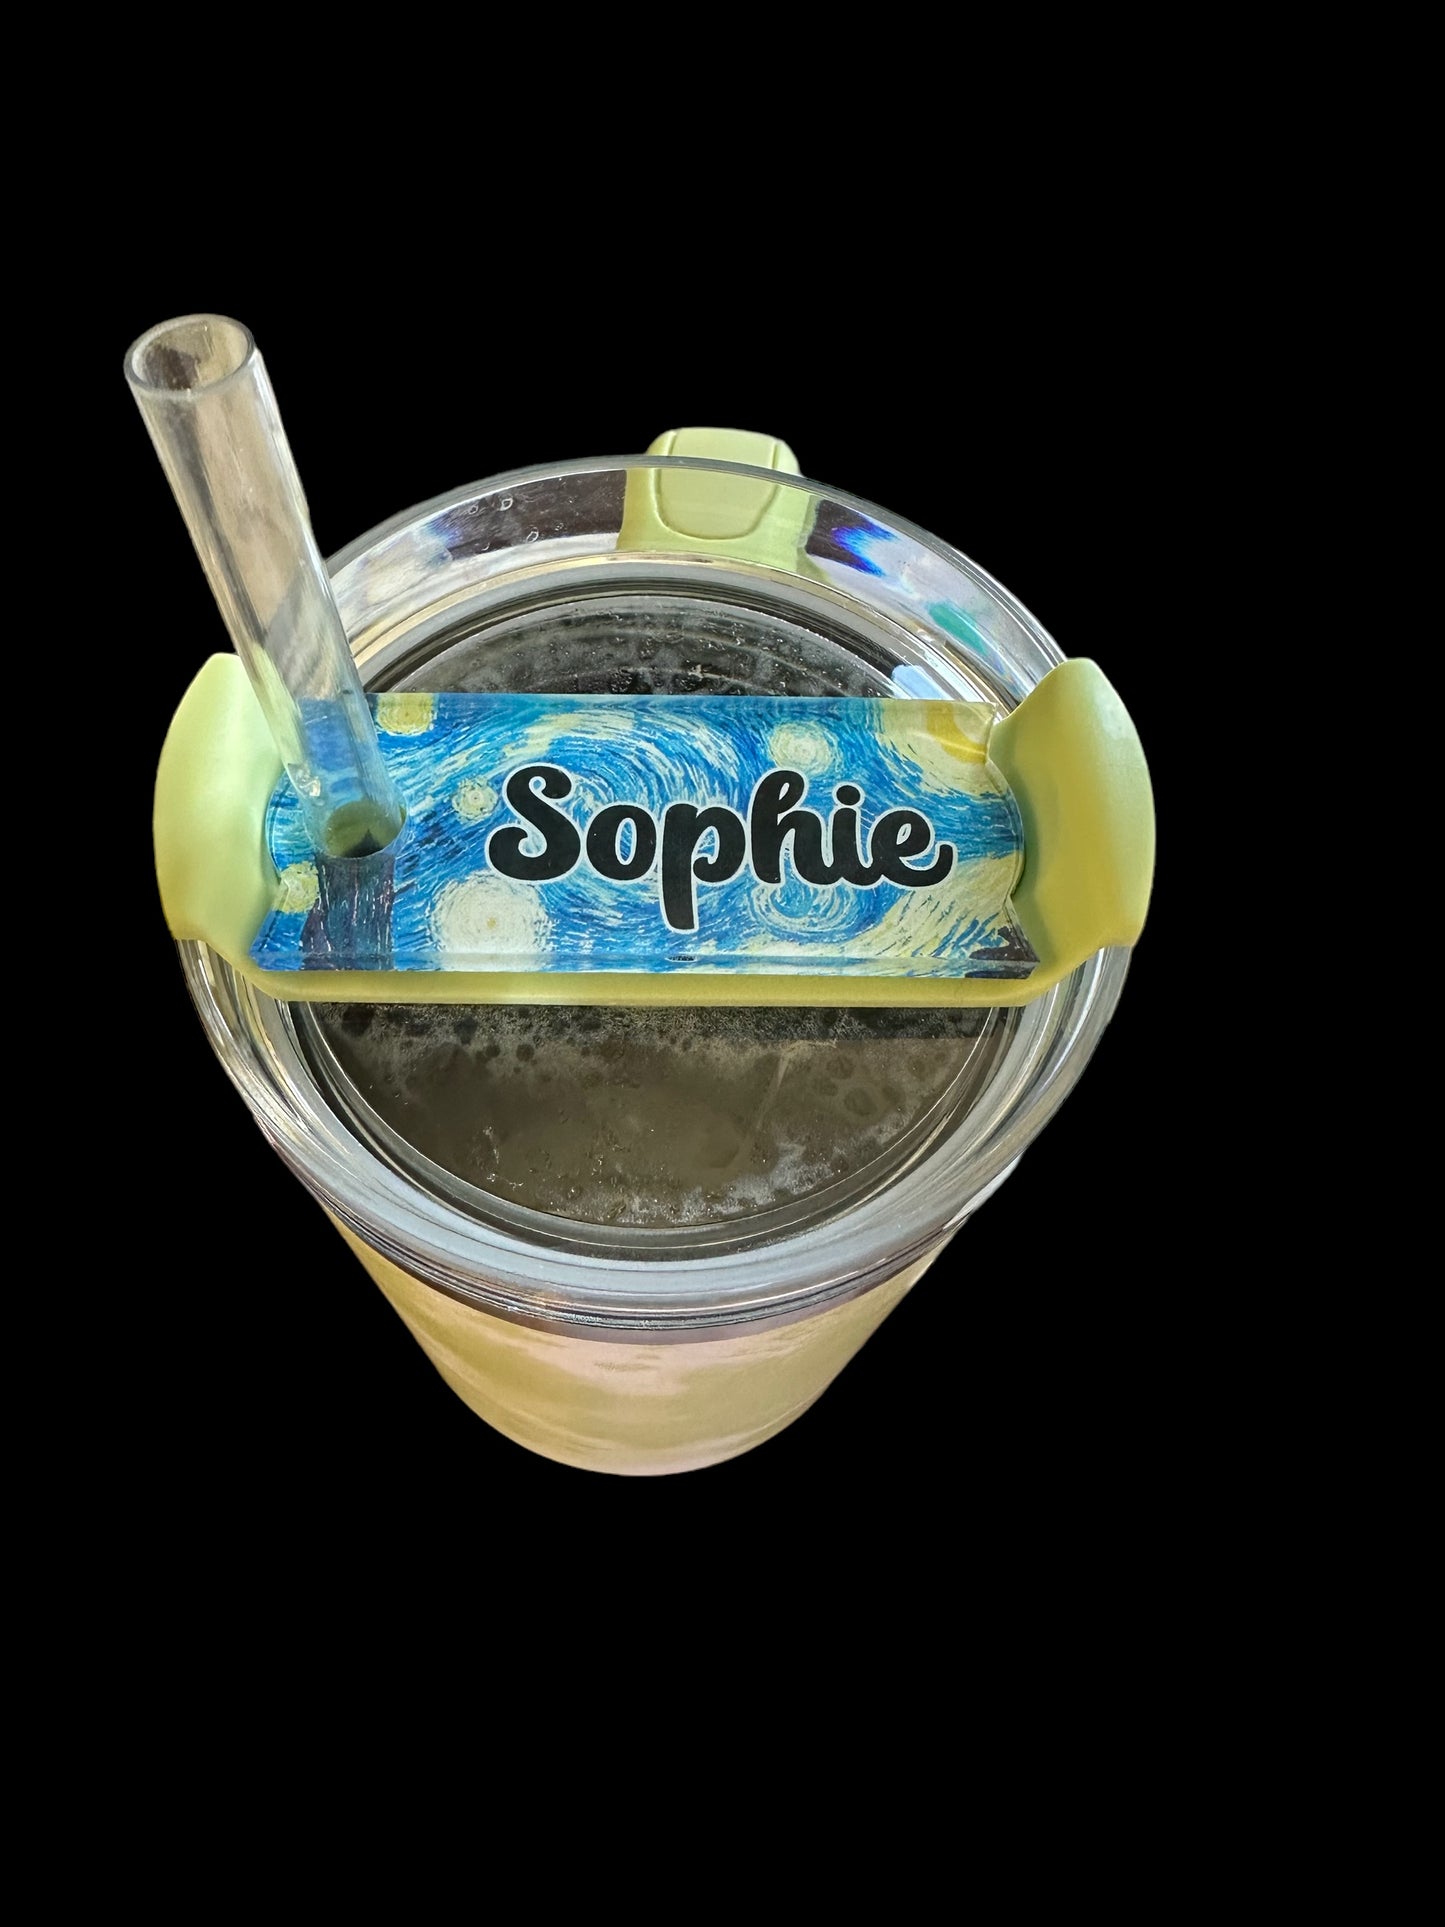
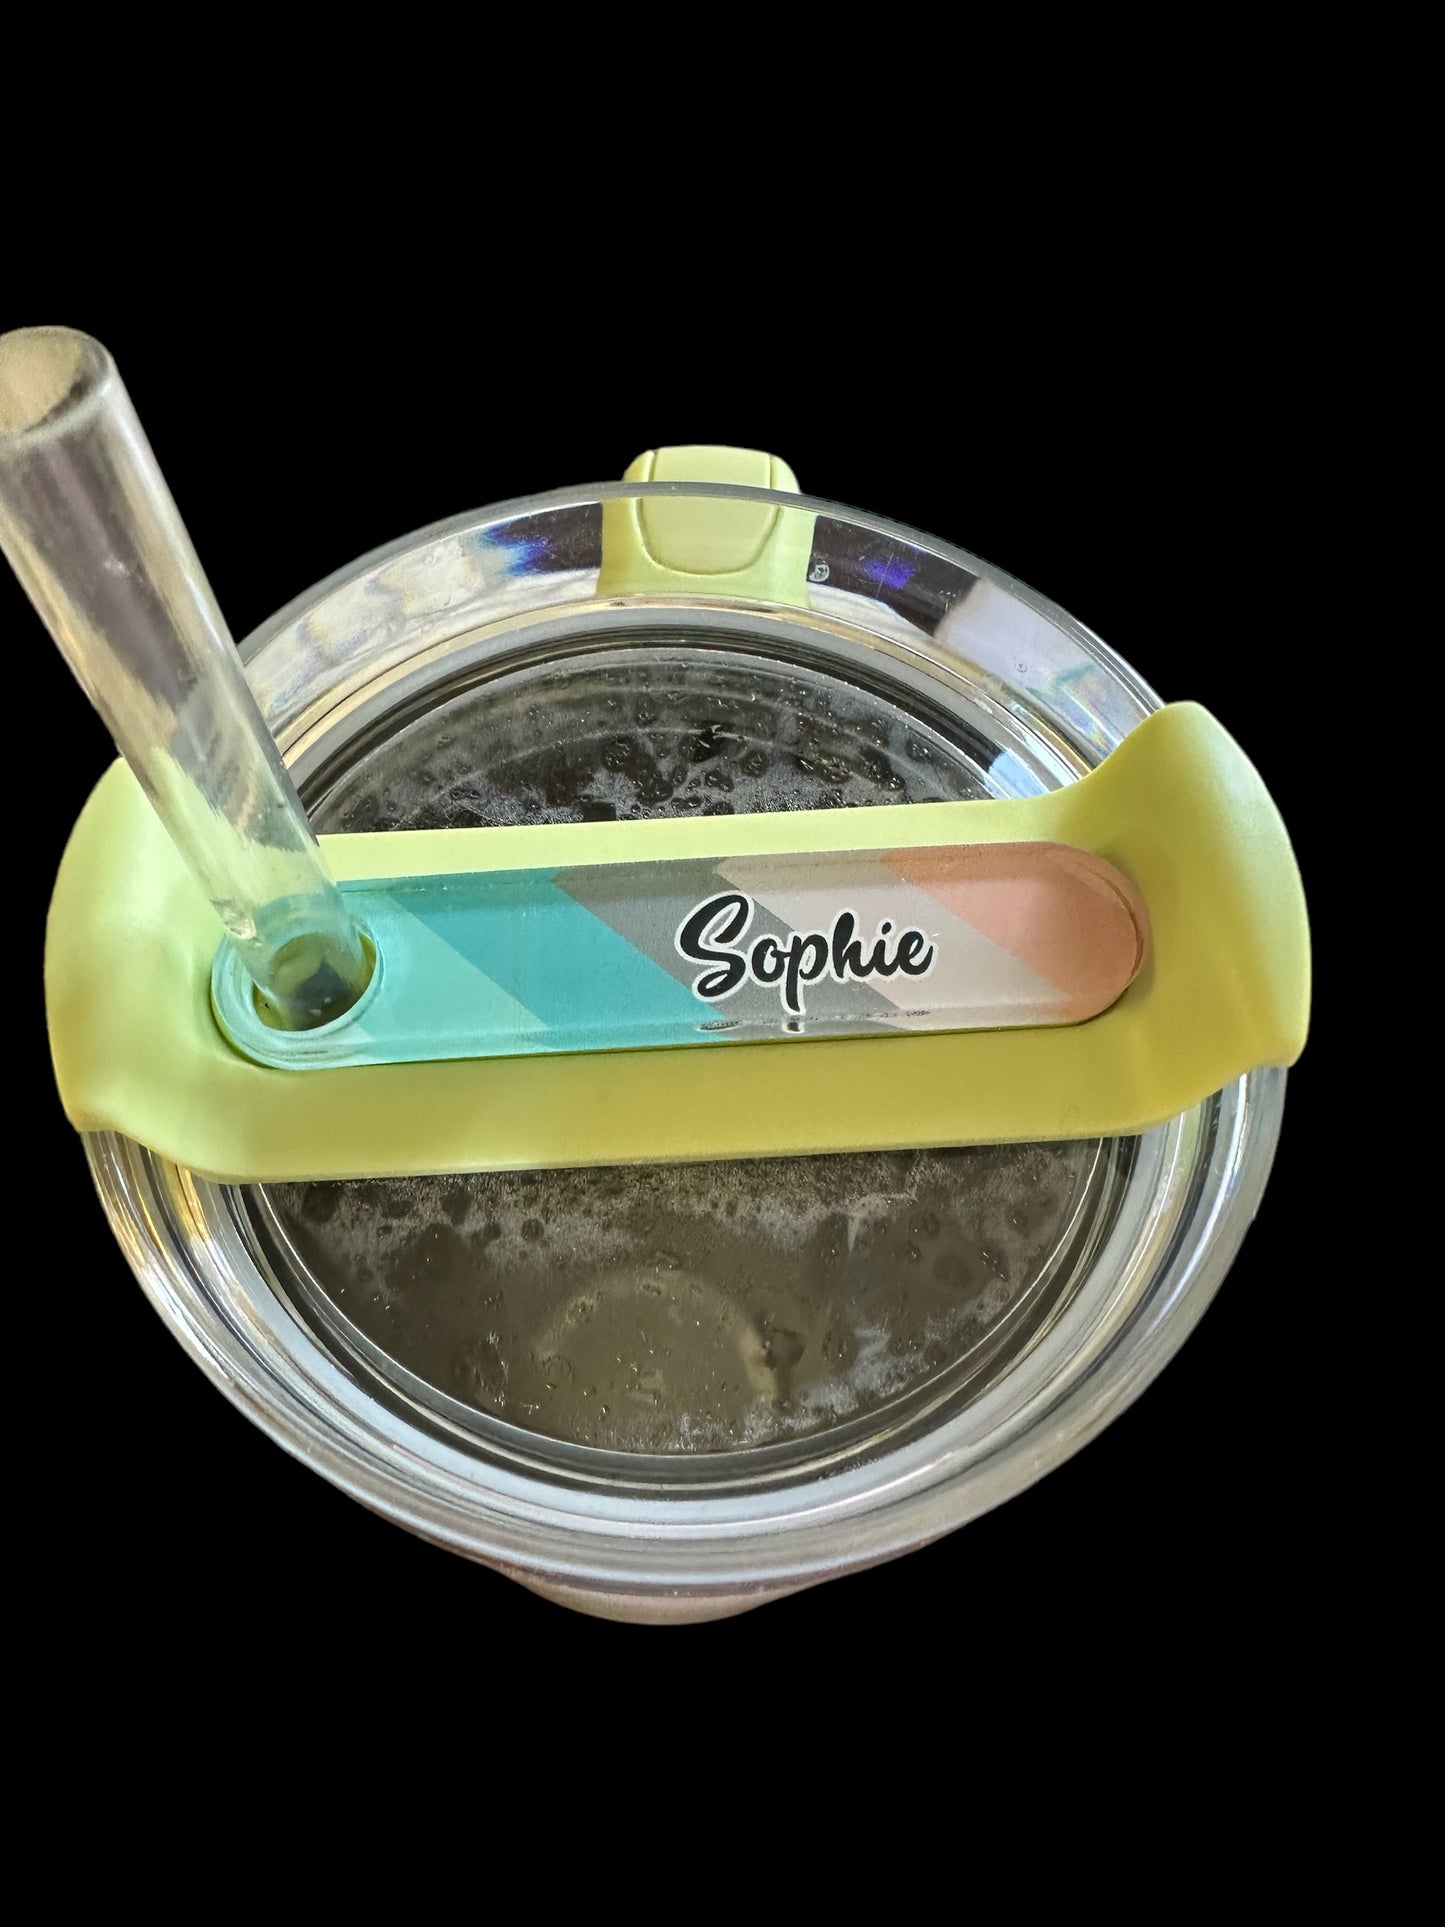
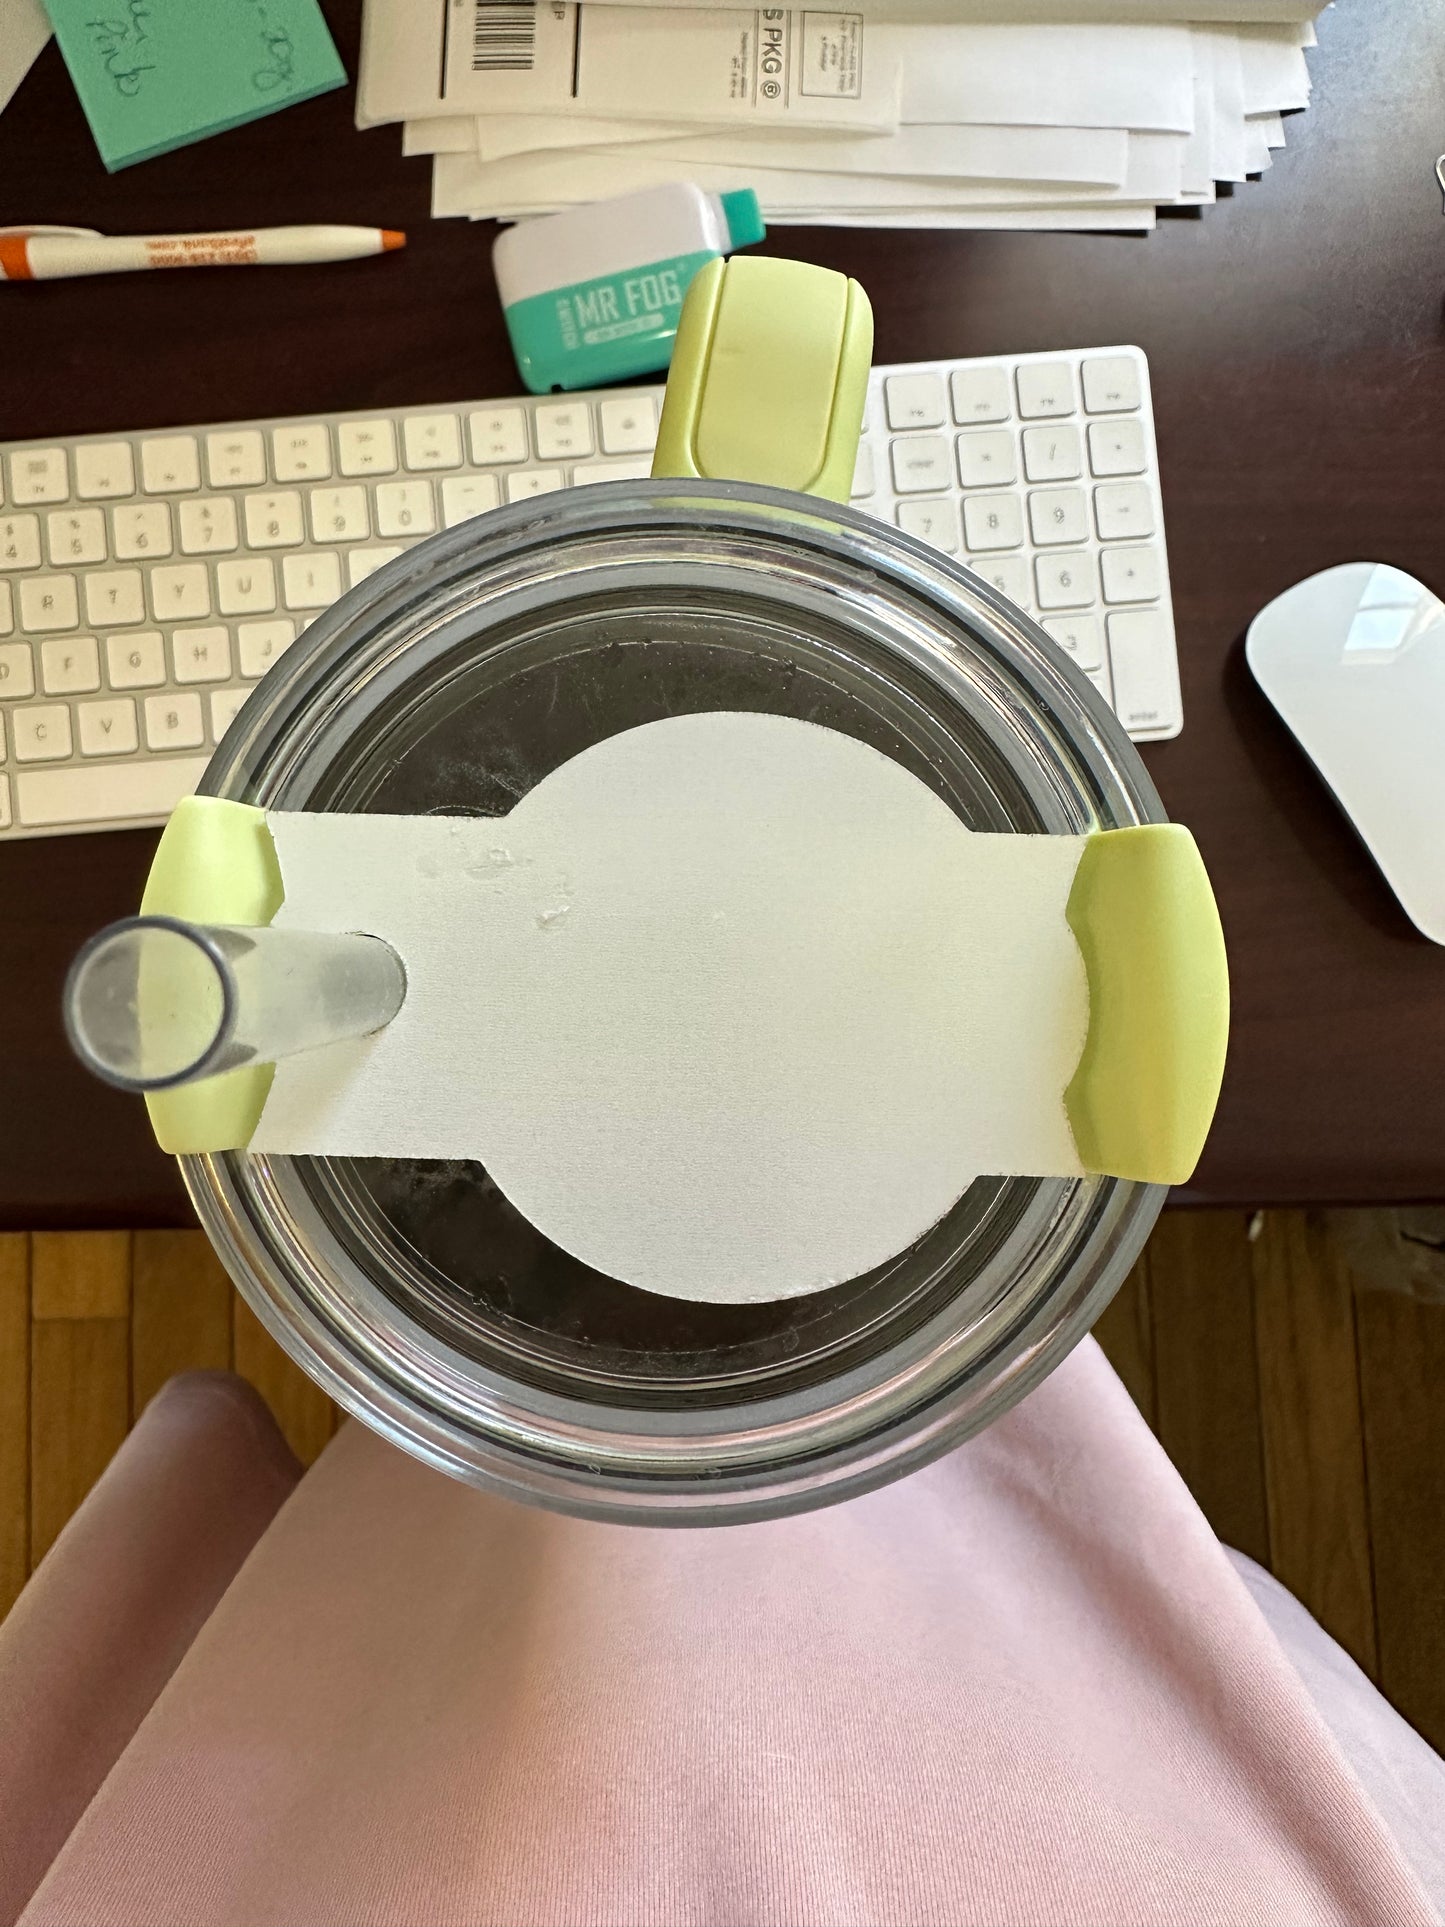
Image with text
Pair text with an image to focus on your chosen product, collection, or blog post. Add details on availability, style, or even provide a review.
-
Free Shipping
Pair text with an image to focus on your chosen product, collection, or blog post. Add details on availability, style, or even provide a review.
-
Hassle-Free Exchanges
Pair text with an image to focus on your chosen product, collection, or blog post. Add details on availability, style, or even provide a review.


